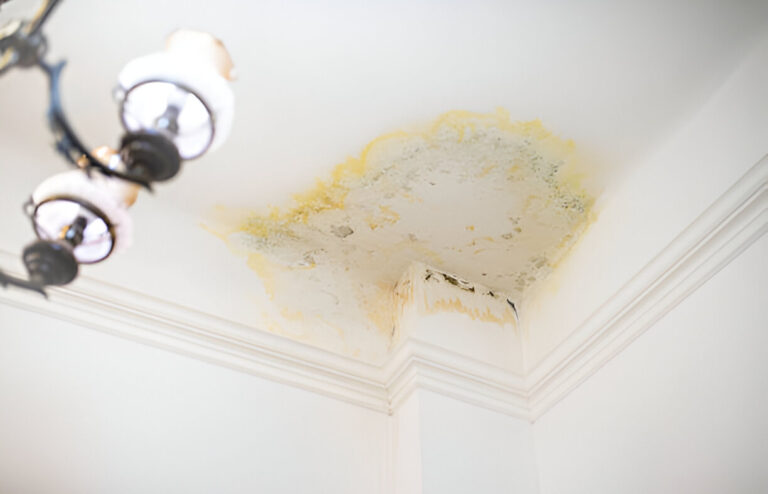

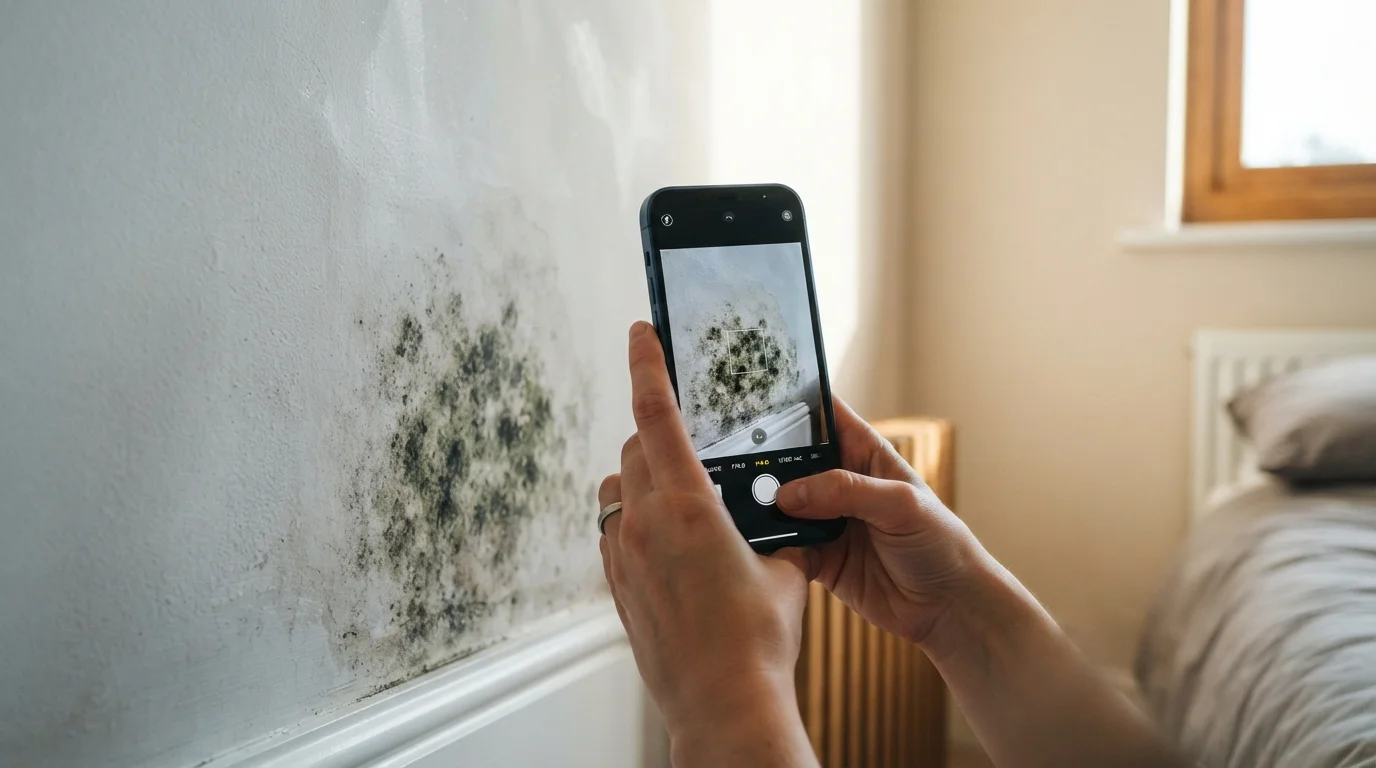
Before reporting damp or mould, take clear photos of every affected area from a distance and close up. Include the room, wall or ceiling, the size of the damage, nearby windows or pipes, and any belongings affected. Keep the original files, note the dates, and photograph the problem again if it spreads or changes. You can also learn more about damp and mould claims if the issue remains unresolved.
Why photos matter in a damp claim
Good photos for a damp claim do more than show that mould exists. They help establish where the problem is, how serious it appears, and whether it is getting worse.
That matters because damp can have several possible causes, including condensation, penetrating damp, leaking pipes, faulty gutters or rising damp. A photograph cannot prove the cause on its own, but it gives your landlord, letting agent, surveyor or local authority useful information before an inspection takes place.
The UK Government advises housing providers to photograph and document the location of mould before removing it, partly to help identify the source.
Take the photographs before cleaning, painting or moving furniture whenever it is safe to do so. Once the visible evidence has gone, it may be harder to show the original extent of the problem.
The photographs you should take
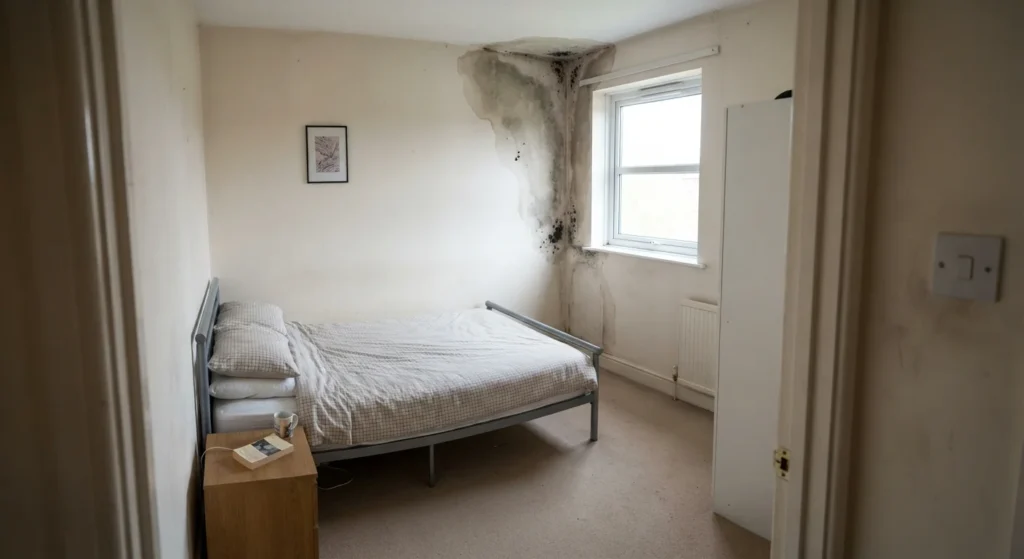
1. A wide shot of each affected room
Start at the doorway and photograph the whole room, or as much of it as possible. Include the affected wall, ceiling or floor in context.
This helps someone understand where the problem is located. A close up of black mould could be anywhere, but a wider image may show that it is beside a window, behind a wardrobe, below a bathroom or underneath a roof junction.
Take more than one angle if the room is small or furniture blocks part of the wall.
2. A medium distance photograph
Move closer and photograph the complete affected section. Try to include the edges of the damp patch rather than filling the whole frame with the darkest area.
This can show whether the mark is:
- Around a window or external wall.
- Below a ceiling or near a roof.
- Behind furniture.
- Beside a bath, shower, sink or radiator.
- Around pipework or a boiler.
- Spreading along a skirting board.
These details may help an inspector decide what needs checking first.
3. Close ups of mould and surface damage
Take sharp close ups of the mould, staining, peeling paint, bubbling wallpaper, crumbling plaster or damaged sealant. Tap the screen before taking the image so the affected area is in focus.
Avoid using a filter. Do not edit the colour, crop out surrounding details or add marks to the image. Original, unedited files are more useful if the issue later becomes disputed.
If the surface is wet, photograph the moisture rather than wiping it first. Do not touch suspicious materials or put yourself at risk to get a better image.
4. A photograph showing scale
Damp patches often look larger or smaller in photographs than they really are. Place a ruler beside the affected area if you have one. A standard object can also help, provided it does not cover the damage.
A ruler is best because it shows the approximate width and height. Take one photograph with the ruler and another without it, especially if the patch is extensive.
Never press an object into crumbling plaster or a wet surface. Hold it alongside the damage instead.
5. Nearby windows, doors and ventilation
Photograph the window frame, trickle vents, extractor fan, air bricks and ventilation grilles near the damp. If there is condensation on the glass, include that too, but do not present condensation alone as proof that the tenant caused the problem.
Show whether the vent is blocked, painted over or not working, if that is relevant. In a bathroom or kitchen, take a photograph of the extractor fan and its position in relation to the affected area.
Why bother? The surrounding details may reveal a ventilation issue, a failed seal or a problem that needs inspection beyond the visible mould.
6. Pipes, gutters and external clues
If you can safely access the outside of the property, photograph external signs that may be connected to the damp. These could include overflowing gutters, damaged downpipes, cracked render, missing roof tiles or staining beneath a pipe.
Keep the images safe and ordinary. Do not climb onto roofs, lean out of windows or enter restricted areas. Photograph from ground level or another secure position.
Inside, capture any nearby pipework, radiator connections or visible leaks. A picture of water collecting beneath a sink can be particularly useful when reporting a suspected plumbing problem.
7. Damage to belongings
Photograph furniture, clothing, bedding, books, carpets and other items affected by damp or mould. Take one wider image showing where the item was kept and another close up of the damage.
Keep receipts, replacement quotes and photographs of labels where possible. If you throw something away because it is unsafe or unusable, photograph it first and retain proof of purchase if you have it.
A landlord may need to investigate the building repair separately from any claim involving personal belongings. Clear records prevent the two issues becoming confused.
A simple evidence process
| Stage | What to record | Why it helps |
| Before cleaning | Wide, medium and close up images | Shows the original condition |
| On the same day | Room, location and approximate size | Gives the photos context |
| When reporting | Photos attached to a written message | Creates a dated repair record |
| During the problem | Further images if it spreads or returns | Shows change over time |
| After repairs | The area and any remaining damage | Records whether the work resolved it |
Name the files clearly, such as bedroom_external_wall_25-09-2026.jpg. Keep the originals on your phone or backed up somewhere secure. Do not rely only on images sent through a messaging app, because compression can remove useful detail.
A short note beside each photograph is worthwhile. Write down the room, exact location, date, whether the surface felt wet, and any smell, leak or visible change you noticed.
What often gets missed
In practice, the most common mistake is photographing only the mould itself. The image may be clear, but it gives no indication of which room it is in, how far the damage extends or what sits behind the wall.
Another overlooked point is timing. Photograph the problem as soon as you notice it, then keep a brief damp diary. Record when the mark first appeared, whether it worsens after rain or cold weather, and whether it returns after cleaning.
Do not exaggerate the issue or make the photograph look worse than it is. Accurate evidence is more persuasive than dramatic evidence. If you are unsure whether a mark is mould, photograph it and describe exactly what you observed rather than making a definite diagnosis.
Health symptoms should also be recorded separately. Note who experienced them, when they occurred and whether they improved away from the property. Seek medical advice for health concerns, but do not ask a doctor to confirm a building defect they have not assessed.
How to report the problem
Send the photographs with a written report to your landlord or letting agent. State:
- The address and room affected.
- What you can see and when it started.
- Whether the problem is spreading, wet or recurring.
- Any damage to belongings.
- Any health concerns.
- What access you can offer for an inspection.
Ask for confirmation that the report has been received. Keep the message, attachments and reply together.
If you report the issue by telephone, write down the date, time, person spoken to and what was agreed. Written communication is usually easier to preserve. Shelter recommends keeping records of repair problems, including photographs, correspondence and receipts, because evidence may be needed to show that the landlord knew about the condition.
Do not stop paying rent or arrange major work yourself simply because you have taken photographs. The correct next step can depend on the tenancy type, location and seriousness of the hazard. If the landlord does not respond, you may need to use the formal complaints process or contact your local council’s housing standards or environmental health team.

When not to get closer
Safety comes first. Photograph from a safe distance if there are exposed electrical wires, a sagging ceiling, significant water around electrical fittings, sewage contamination or unstable plaster.
Do not climb ladders near wet surfaces or move heavy furniture alone. Children, older people and anyone with breathing conditions should avoid disturbing mould. If the damp is extensive or keeps returning, an independent inspection may be more useful than repeatedly cleaning the visible surface.
If you are in England and need help understanding the condition of a rented property, our damp house repair service can help you document the visible signs and identify what should be checked next. We work with property owners and tenants across the UK, including cases where the cause is not obvious from the first photograph.
Frequently asked questions
Should I clean the mould before taking photos?
No, take photographs before cleaning whenever it is safe. Cleaning first can remove evidence of the original extent and pattern. After photographing it, follow sensible health precautions and any professional advice, particularly if the affected area is large or someone in the household has respiratory problems.
Should damp photographs show the date?
A visible date is not essential, but you should preserve the original file because its metadata may show when it was taken. Keep a separate written record with the date, room and description. Avoid relying only on a screenshot or edited image.
How many photos should I send to my landlord?
Send enough to show the location, extent and detail without attaching dozens of near identical images. For each affected area, a wide shot, a medium image, a close up and one scale photograph is usually a sensible starting point.
Can photographs prove who caused the damp?
Photographs can document the condition, but they usually cannot prove the cause or responsibility on their own. The cause may require an inspection of ventilation, plumbing, the building envelope or heating. Keep photographs alongside messages, repair history and notes about when the problem changes.
What if my landlord says the photographs are not enough?
Ask for a proper inspection and keep the request in writing. Explain where the damp is, how it has changed and what access is available. If the issue remains unresolved, use the landlord’s complaints process and contact the relevant council or housing adviser for guidance.
Should I take new photos after reporting the problem?
Yes, take further photographs if the damp spreads, returns, causes new damage or remains after an attempted repair. Label each set with the date. A sequence of clear images can show that the condition has changed rather than presenting one isolated snapshot.
For further help with damp, mould and housing repair concerns, visit Housing Repair Solutions.